What special methods do you use to inspect surface defects on dark materials?
Inspecting dark materials presents unique challenges due to light absorption and contrast limitations. We employ multiple specialized techniques to overcome these obstacles and ensure comprehensive detection of defects.
Advanced Optical Enhancement Methods
Controlled Lighting Techniques:
Multi-Angle Illumination: Using dome lighting with integrated LED arrays to eliminate shadows and highlight surface anomalies from multiple directions
Dark Field Illumination: Positioning light sources at oblique angles to make surface scratches, pits, and imperfections scatter light, creating high contrast against dark backgrounds
Cross-Polarization: Employing polarized light sources with cross-polarized camera filters to eliminate specular reflections while maintaining surface detail visibility
These methods are particularly effective for inspecting finished components made from dark Plastics like black Nylon (PA) or carbon-filled composites.
Digital Imaging and Processing
High-Dynamic-Range (HDR) Imaging:
Multiple Exposure Capture: Acquiring images at different exposure levels and combining them to reveal details in both dark and bright areas
Advanced Contrast Enhancement: Using proprietary algorithms to amplify subtle contrast variations indicative of surface defects
Texture Analysis Algorithms: Automated detection of anomalies through pattern recognition and texture classification
3D Surface Topography:
Blue Light Laser Scanning: Utilizing shorter wavelength blue light that provides better reflection from dark surfaces compared to red lasers
Fringe Projection Profilometry: Projecting precise patterns onto surfaces and analyzing distortion to create 3D topography maps independent of surface color
Focus Variation Microscopy: Combining small depth-of-field with vertical scanning to measure topography based on focus rather than contrast
Specialized Surface Preparation
Non-Destructive Contrast Enhancement:
Temporary Anti-Reflective Coatings: Applying evaporative sprays that create uniform matte surfaces without affecting dimensional accuracy or leaving residue
Magnetic Particle Inspection (for ferrous materials): Using fluorescent magnetic particles to detect surface and near-surface defects on dark ferrous metals
Penetrant Testing Substitutes: Developing alternative methods for non-ferrous materials where traditional penetrants might be problematic
Multi-Sensor Data Fusion
Combined Technology Approach:
Thermographic Inspection: Detecting subsurface defects through thermal variations that may not be visible optically
Ulasonic Surface Wave Analysis: Using high-frequency ultrasound to detect surface-breaking cracks and imperfections
Eddy Current Testing: Effective for conductive materials regardless of surface color, detecting cracks and material inconsistencies
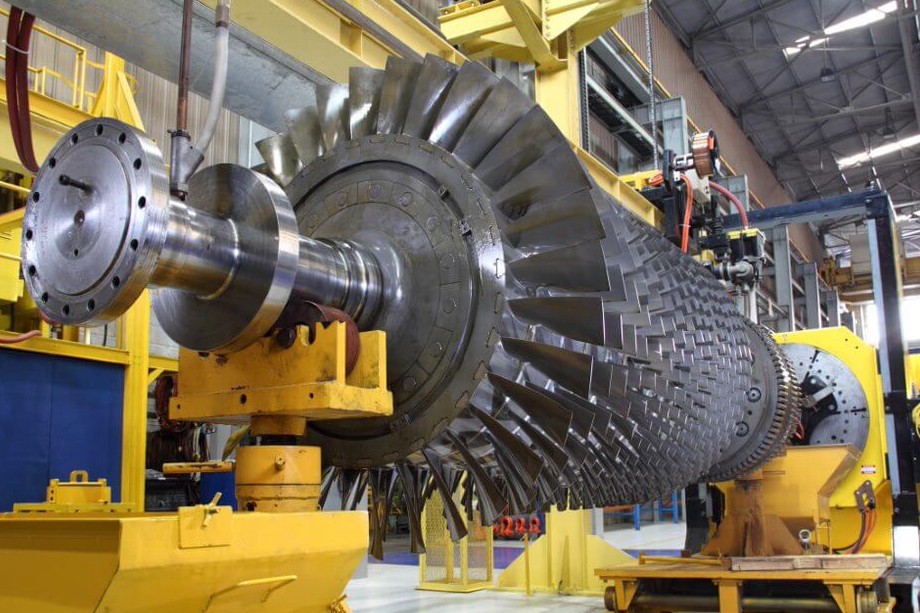
This approach is especially valuable for critical aerospace components made from dark Superalloy materials.
Material-Specific Inspection Protocols
Carbon-Filled and Composite Materials:
UV Fluorescence Imaging: Using ultraviolet light to excite fluorescence in polymer matrices, highlighting fiber orientation and resin-rich areas
X-ray Computed Tomography: For comprehensive internal and external defect detection, unaffected by surface color
Laser Ultrasonics: Non-contact ultrasonic generation for detecting delamination and porosity
Dark Metallic Surfaces:
Electrochemical Methods: Potentiodynamic testing for early detection of susceptible areas for corrosion
Barkhausen Noise Analysis: Detecting grinding burns and residual stresses on hardened steel surfaces
Replica Technology: Creating negative impressions of surfaces for detailed laboratory analysis under controlled conditions
Quantitative Analysis and Reporting
Automated Defect Recognition:
Machine Learning Algorithms: Trained on thousands of sample images to automatically identify and classify defects on dark surfaces
Statistical Process Control: Tracking defect occurrence rates and sizes across production batches
3D Deviation Analysis: Comparing actual surface topography to CAD models with color-coded deviation maps
Standardized Reporting: All inspections include:
Defect location maps with coordinates
Size distribution histograms
Depth profile analysis
Comparative analysis against acceptance criteria
Industry Application Examples
Automotive Components:
Carbon fiber reinforced parts inspection using thermography and CT scanning
Black anodized aluminum components evaluated with blue light scanning
Consumer Electronics:
Dark polymer housings inspected with HDR imaging and multi-angle lighting
Matte finished components analyzed through focus variation microscopy
Medical Devices:
Dark ceramic implants examined using laser confocal microscopy
Black oxide-coated surgical instruments inspected with eddy current testing
Through these specialized methods, we overcome the inherent challenges of dark material inspection, providing comprehensive defect detection that ensures quality and reliability across all our 3D Printing Services for Aerospace and Aviation, Medical and Healthcare, and Automotive applications.


