How much sample is required for OES analysis?
OES Sample Quantity and Dimension Specifications
For reliable Optical Emission Spectroscopy analysis, we typically require solid metallic samples with minimum dimensions of approximately 20mm × 20mm × 10mm to ensure proper grounding and stability during spark testing. The critical factor is not sample weight but rather having sufficient surface area for analysis – specifically, a flat, polished area of at least 10mm in diameter to accommodate the OES spark stand aperture. Smaller samples can often be analyzed with specialized fixtures, though this may require additional preparation time. This requirement applies to various metallic materials we characterize, including Aluminum Alloys, Stainless Steel, and Titanium Alloy components from processes like Powder Bed Fusion.
Critical Sample Preparation Requirements
Surface Preparation Protocol
OES analysis requires exceptionally prepared surfaces for accurate results. The analysis zone must be flat, smooth, and free of contamination. We typically prepare samples using sequential grinding with increasingly finer abrasives (typically finishing with 120-240 grit) or, preferably, machine milling to create a fresh, uncontaminated surface. The prepared area must be free of oxidation, coatings, paint, oil, dirt, or any non-metallic substances that could interfere with the spark discharge. For materials that have undergone specialized Surface Treatment or Heat Treatment, it may be necessary to remove surface layers to analyze the base material composition.
Material-Specific Considerations
Different material types require specific preparation approaches. For Carbon Steel and low-alloy steels, we ensure complete removal of decarburized layers. For Superalloy samples, we verify the absence of surface contamination that could affect critical element measurements. Non-conductive materials, including Ceramic components or Plastics, cannot be analyzed using standard OES techniques and require alternative analytical methods. Samples with complex geometries, such as those from processes like Binder Jetting, may require sectioning to create an appropriate flat analysis surface.
Application-Specific Preparation Guidelines
Additive Manufacturing Component Analysis
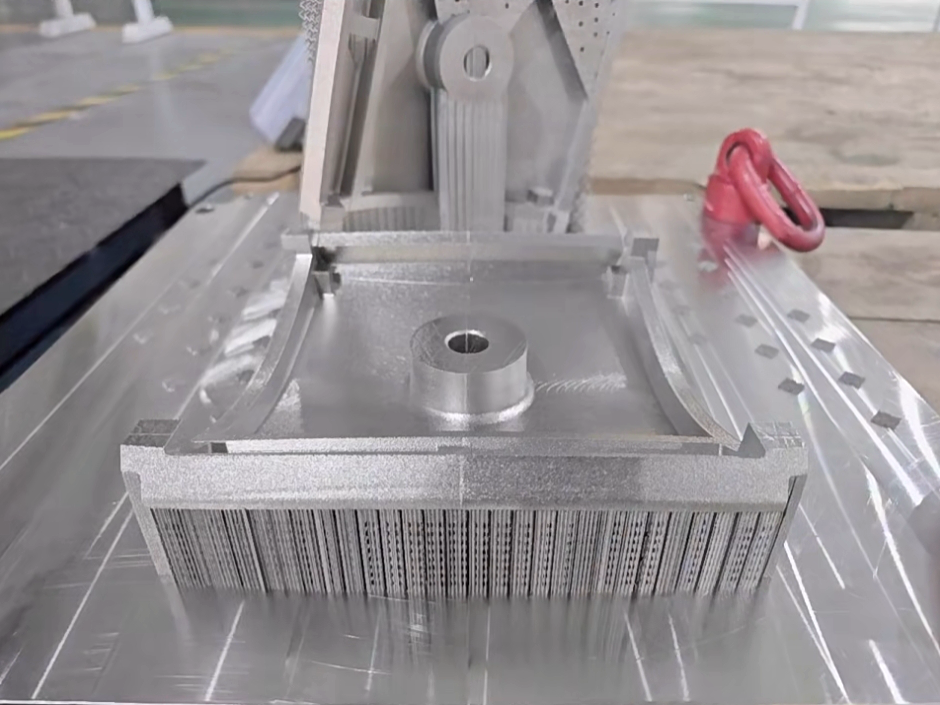
For additively manufactured parts, we recommend submitting separate witness coupons built alongside the components rather than sacrificing functional parts. These coupons should be manufactured using identical parameters and orientation as the production parts. This approach is particularly valuable for qualifying materials for demanding applications in the Aerospace and aviation, as well as medical and Healthcare industries, where material certification is essential.
Preparation Services and Alternatives
If sample preparation presents challenges, our laboratory offers comprehensive preparation service,s including sectioning using CNC Machining, mounting, and polishing to create ideal analysis surfaces. For samples that cannot meet OES requirements due to size constraints or material limitations, we can recommend alternative techniques, such as X-ray fluorescence or inductively coupled plasma analysis. However, these methods may have different detection capabilities and precision levels.


