How accurate is OES for high-reflectivity aluminum alloys?
Analytical Performance on Reflective Aluminum Surfaces
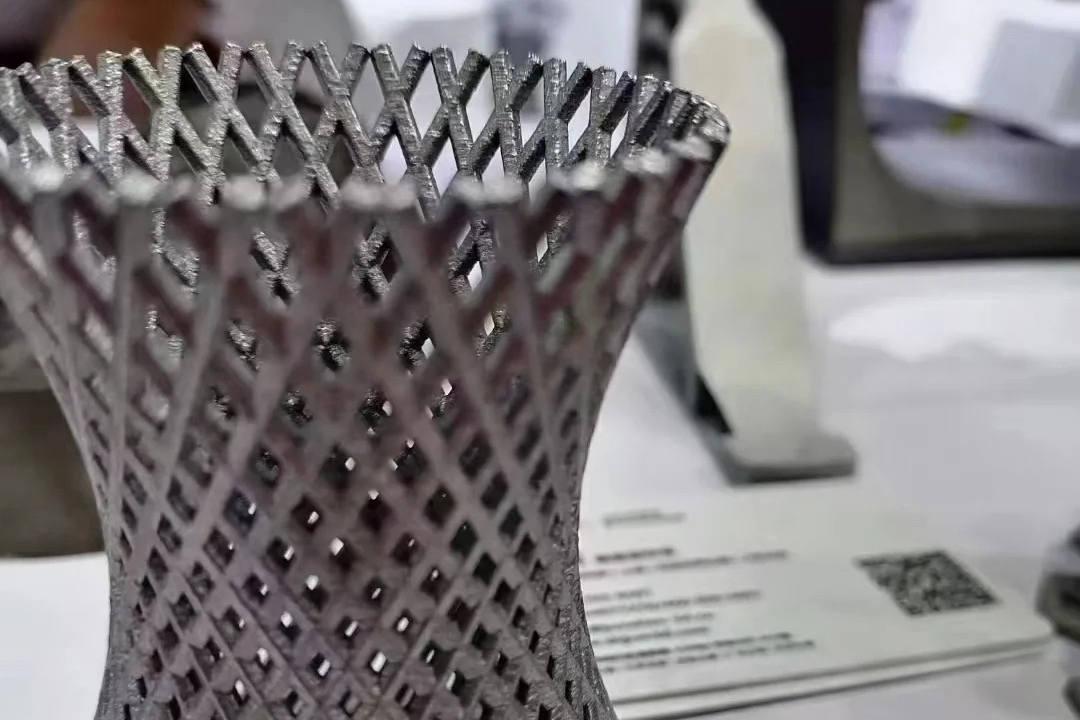
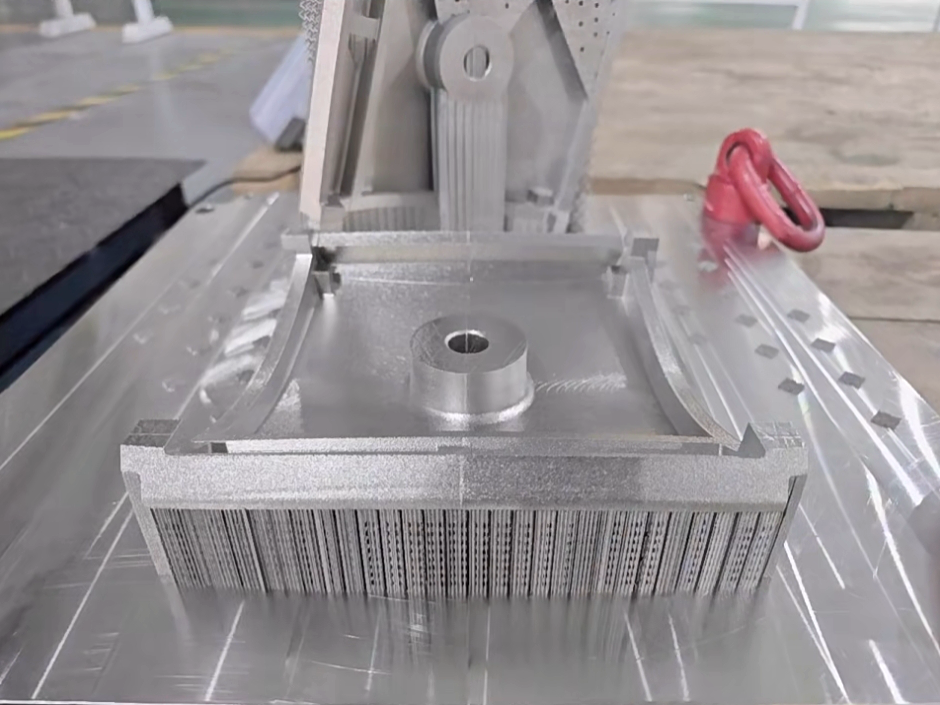
Optical Emission Spectroscopy offers excellent analytical accuracy for high-reflectivity aluminum alloys when proper methodologies are employed, typically achieving relative accuracies of 0.5-2% for major alloying elements and 5-15% for trace elements, depending on concentration levels. The high reflectivity of aluminum alloys presents minimal interference for modern OES instruments, as the spark discharge creates a localized plasma that effectively vaporizes and excites the sample surface regardless of optical reflectivity. This capability is particularly valuable for verifying the composition of Aluminum Alloys used in Powder Bed Fusion processes across industries, including Aerospace and Aviation and Automotive.
Critical Factors Influencing OES Accuracy
Surface Preparation Requirements
The paramount requirement for accurate aluminum alloy analysis is impeccable surface preparation. High-reflectivity alloys must be machined or ground to create a fresh, contamination-free surface, as the analysis penetrates only microns into the material. The prepared surface must be flat and smooth to ensure consistent spark discharge and prevent air gaps between the sample and the spectrometer aperture. Proper preparation is equally critical for other metallic materials we analyze, including Titanium Alloy and Stainless Steel components, though aluminum's softness requires specific abrasives to avoid embedding contaminants.
Instrument Calibration and Method Optimization
Modern OES instruments utilize alloy-specific calibration curves optimized for the spectral characteristics of aluminum. We maintain specialized calibration programs for common aluminum grades, including those used in additive manufacturing, such as AlSi10Mg and AlSi12. The analysis takes into account aluminum's unique spectral lines and potential interferences, with detection limits typically ranging from 1 to 10 ppm for critical elements such as magnesium, silicon, copper, and zinc. This precise calibration ensures reliable material certification for components that may subsequently undergo Heat Treatment or Hot Isostatic Pressing (HIP) processes.
Comparative Performance with Alternative Techniques
Advantages Over Other Analytical Methods
OES demonstrates superior performance for analyzing aluminum alloys compared to many alternative techniques. Unlike X-ray fluorescence, OES effectively measures light elements, including magnesium, which is crucial for specifying aluminum alloys. The technique offers significantly improved detection limits and precision for trace elements compared to handheld XRF devices, making it the preferred method for quality control of critical components in Medical and Healthcare applications, as well as consumer electronics. For non-metallic materials such as Ceramic or Plastics, alternative techniques remain necessary as OES requires electrical conductivity.
Limitations and Complementary Techniques
While OES excels at bulk composition analysis, the micro-spot analysis capability is limited compared to techniques like SEM/EDS. For examining microsegregation in as-built additive manufacturing components or analyzing specific features in parts produced via Binder Jetting, we often recommend correlative analysis using both OES for bulk composition and SEM/EDS for microstructural elemental distribution. This comprehensive approach provides complete material characterization for demanding applications where both bulk chemistry and microstructural homogeneity are critical performance factors.


