Is this technology applicable to metal 3D printed parts of all sizes?
Yes, modern inspection technologies are applicable to metal 3D-printed parts of virtually all sizes; however, the specific techniques, equipment requirements, and approaches must be tailored to the part's dimensions. The feasibility and methodology change significantly based on part scale, with different solutions optimized for different size ranges.
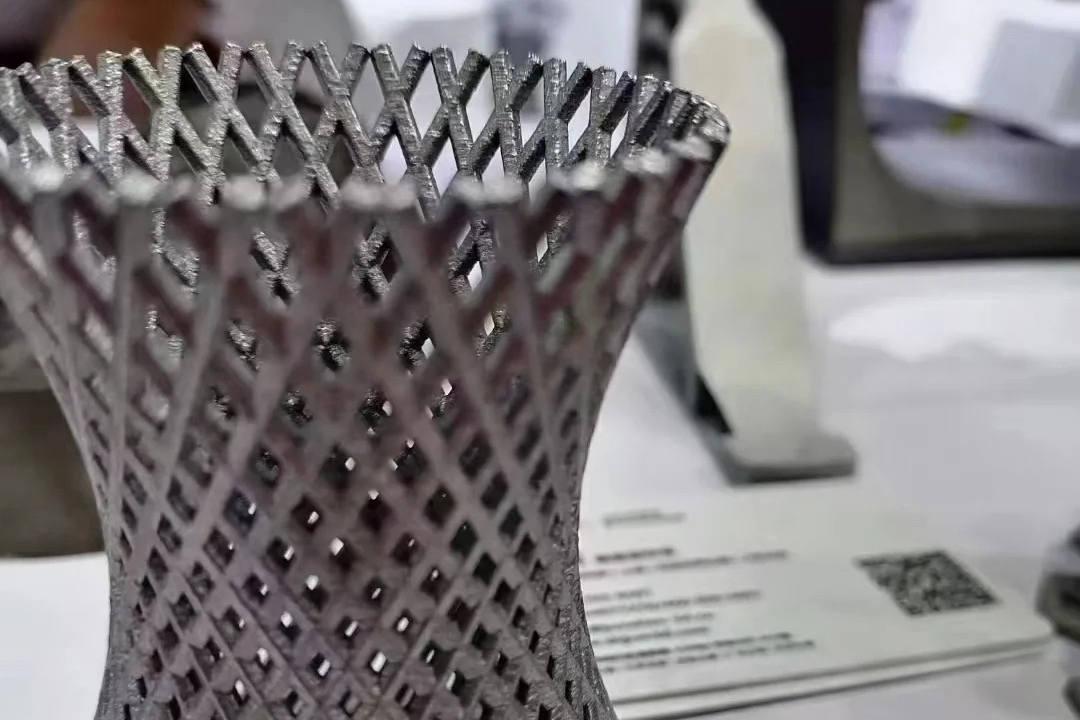
Small to Medium Parts (Up to 500mm)
Ideal Application Range:
Micro-CT Scanning: Provides highest resolution for intricate features
Standard CMM: Excellent accuracy for prismatic features
Desktop 3D Scanners: Convenient for rapid inspection of smaller components
Technical Considerations:
Resolution Capability: Sub-10 micron voxel sizes for detecting fine porosity
Multi-sensor Integration: Combining optical scanning with touch probing
High-Magnification Metallography: Detailed microstructural analysis of Titanium Alloy and Stainless Steel samples
This size range encompasses most Medical and Healthcare implants and Consumer Electronics components, where precision is paramount.
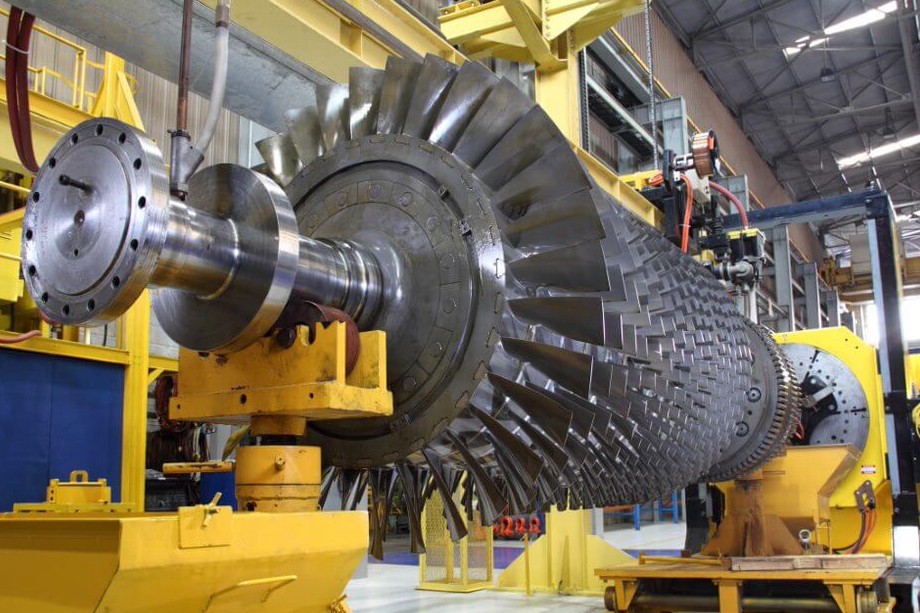
Large Parts (500mm to 2 meters)
Specialized Equipment Requirements:
Large-Volume CT Systems: Custom chambers for aerospace components
Portable CMM Arms: Flexible measurement of large structures
Photogrammetry-Assisted Scanning: Maintaining accuracy across large volumes
Technical Adaptations:
Multi-Stage Scanning: Capturing large parts in segments with precise alignment
Reference Network Establishment: Using photogrammetric targets for data unification
Robotic Scanning Systems: Automated path planning for consistent coverage
These methods are essential for Aerospace and Aviation components like turbine cases and structural brackets.
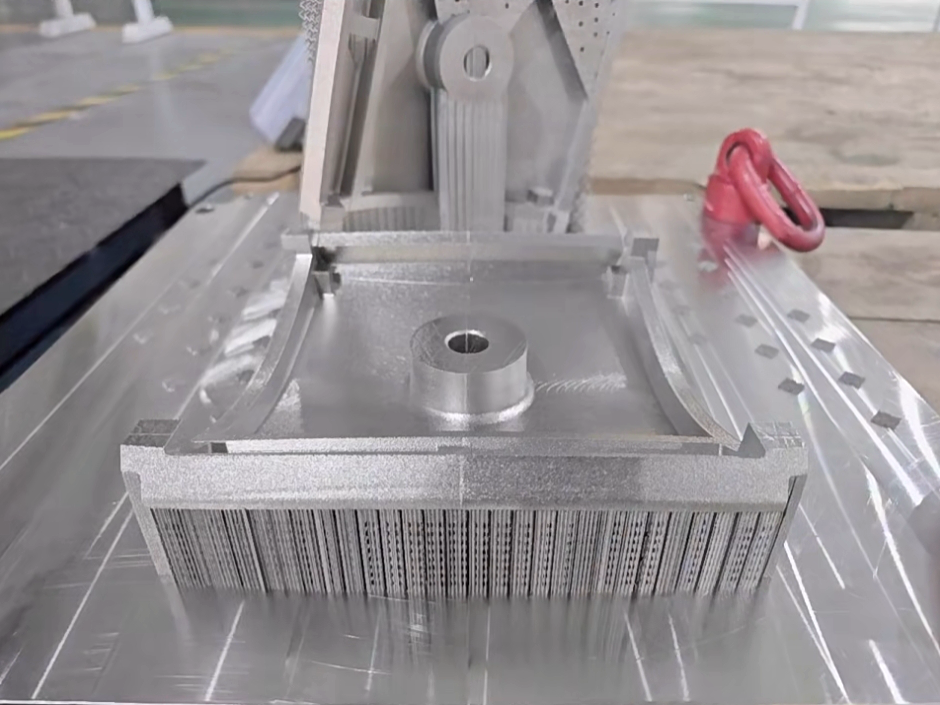
Extra-Large Parts (Over 2 meters)
Advanced Solutions for Maximum Dimensions:
Laser Tracking Systems: Maintaining accuracy across large distances
Portable Metrology Systems: Bringing measurement to the part
Structured Light Projection: Large-area capture with photogrammetric support
Implementation Challenges:
Environmental Control: Temperature, vibration, and humidity effects
Data Management: Handling massive point clouds from extensive scans
Accessibility: Physical access to all measurement surfaces
Size-Specific Technical Limitations
Lower Size Boundary:
Feature Resolution: Very small features (<100μm) may require specialized micro-CT
Handling Challenges: Miniature parts need custom fixturing
Measurement Uncertainty: Relative error increases with decreasing size
Upper Size Boundary:
Equipment Capacity: Limited by chamber sizes for CT systems
Accuracy Degradation: Volumetric accuracy decreases with increasing measurement volume
Practical Constraints: Facility space, handling equipment, and environmental factors
Technology-Specific Size Limitations
Computed Tomography (CT):
Maximum Size: Typically 1 meter diameter × 1.5 meter height for industrial systems
Resolution Trade-off: Larger parts require lower resolution to maintain reasonable scan times
Power Requirements: Higher energy X-ray sources for dense or large metallic parts
Coordinate Measuring Machines:
Bridge CMMs: Up to 4-meter measuring volume with maintained accuracy
Gantry Systems: Unlimited size in theory, with accuracy dependent on environmental control
3D Optical Scanning:
Volumetric Accuracy: Decreases with working distance and measurement volume
Scalability: Virtually unlimited with proper photogrammetric support
Industry-Specific Applications
Medical Device Manufacturing:
Small implants using high-resolution micro-CT
Surgical guides and instruments with standard CMM verification
Aerospace Components:
Turbine blades (small) with detailed surface and internal inspection
Structural frames (large) requiring portable metrology solutions
Automotive Applications:
Engine components (medium) with comprehensive CT analysis
Chassis elements (large) using laser tracking systems
Adaptation Strategies for Size Extremes
Oversized Part Solutions:
Sectional Analysis: Strategic sampling and witness coupons for very large parts
Multi-system Integration: Combining different technologies for complete coverage
On-site Inspection: Deploying portable systems to the manufacturing location
Undersized Part Solutions:
Batch Sampling: Multiple small parts scanned simultaneously in CT systems
Specialized Fixturing: Custom holders for consistent positioning
High-Magnification Techniques: SEM and micro-CT for sub-millimeter features
Quality Assurance Across All Sizes
Regardless of part dimensions, we maintain consistent quality standards through:
Traceable Calibration: All equipment calibrated to national standards
Uncertainty Analysis: Comprehensive measurement uncertainty budgets
Process Validation: Method validation for each unique application
Documentation Standards: Uniform reporting format across all part sizes
The key to successful inspection across size ranges lies in selecting the appropriate technology combination and adapting methodologies to address the specific challenges presented by each part's dimensions, while maintaining the rigorous standards required for metal 3D-printed components.


