How long does it take to scan a complex part and generate analysis results?
The duration for scanning a complex part and generating analysis results typically ranges from 2 to 8 hours for most components, with more intricate projects requiring up to 24 hours. This process involves multiple stages that ensure the accurate capture of data and the meaningful interpretation of results.
Scanning Phase: 30 Minutes to 4 Hours
Data Acquisition Time Factors:
Part Size and Complexity: Small parts (<100mm) with simple geometries: 30-60 minutes. Large assemblies (>1m) with intricate features: 2-4 hours.
Surface Characteristics: Difficult surfaces (reflective, dark, or transparent) require the application of anti-glare spray, adding 15-30 minutes to the preparation time.
Accuracy Requirements: Higher accuracy scans necessitate multiple overlapping scans and longer capture times.
Accessibility: Complex geometries with deep recesses or hidden features require additional scanner positions and angles.
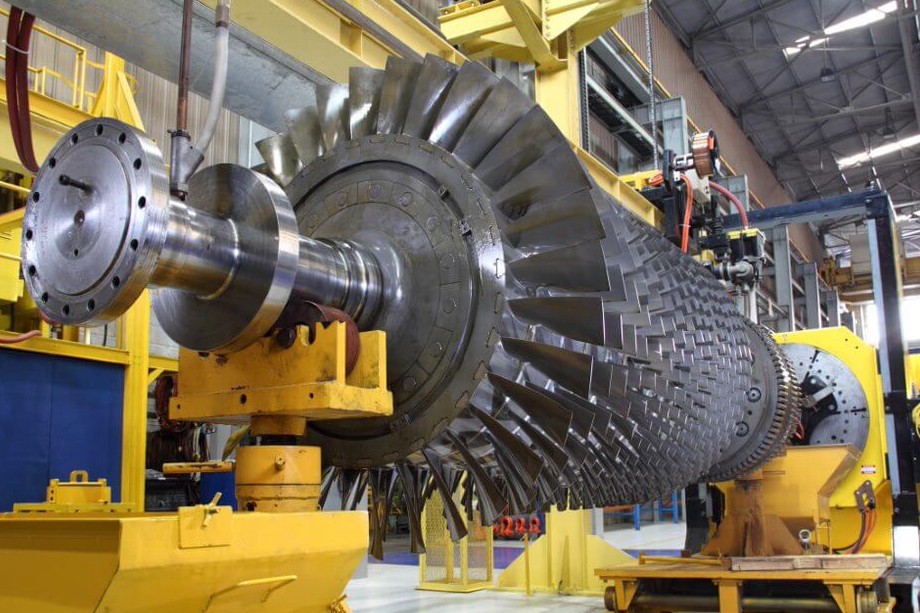
For example, scanning a Titanium Alloy turbine blade with complex internal cooling channels typically requires 2-3 hours, while a simple Stainless Steel bracket might take only 45 minutes.
Data Processing and Alignment: 1 to 3 Hours
Processing Workflow:
Point Cloud Registration: Aligning multiple scan positions into a unified model (30-90 minutes)
Mesh Generation: Converting point clouds to watertight STL models (20-60 minutes)
Data Cleanup: Removing noise and artifacts from the scan data (15-45 minutes)
Reference Alignment: Aligning scan data to CAD coordinate system (15-30 minutes)
The complexity of this stage depends heavily on the number of scan positions and the geometric complexity of the part.
Analysis and Reporting: 1 to 4 Hours
Analysis Types and Durations:
Dimensional Analysis: Comparing scan data to CAD model (1-2 hours)
Geometric Dimensioning & Tolerancing (GD&T): Evaluating form, orientation, and position tolerances (1-3 hours)
Wall Thickness Analysis: Mapping thickness variations across the entire part (30-90 minutes)
Porosity and Defect Analysis: Identifying and quantifying surface anomalies (45-120 minutes)
For Reverse Engineering applications, additional time is required for surface reconstruction and CAD model development, typically adding 4-8 hours to the timeline.
Total Project Timeline Examples
Standard Complexity Part (e.g., automotive bracket):
Scanning: 1 hour
Processing: 1.5 hours
Dimensional Analysis: 1.5 hours
Total: 4 hours
High Complexity Part (e.g., medical implant with porous structures):
Scanning: 3 hours (including preparation for reflective surfaces)
Processing: 2.5 hours (dense point cloud with fine details)
Comprehensive Analysis: 3 hours (including porosity and surface finish assessment)
Total: 8.5 hours
Expedited Service Options:
Priority Processing: Available for urgent projects, reducing timeline by 30-40%
Basic Analysis: Simplified reporting for non-critical applications, reducing analysis time by 50%
Factors Influencing Timeline Variations
Part-Specific Considerations:
Size: Large parts require more scan positions and longer processing
Complexity: Parts with freeform surfaces, undercuts, and fine details extend scanning time
Material: Transparent or reflective surfaces require special preparation
Tolerance Requirements: Tighter tolerances demand more careful scanning and analysis
Application-Driven Timelines:
Aerospace and Aviation: Typically longer due to stringent accuracy requirements and complex part geometries
Medical and Healthcare: Additional time for biocompatible surface preparation and detailed porosity analysis
Automotive: Moderate timelines balanced between speed and accuracy for production parts
Reporting and Delivery
Final deliverables are typically provided within 24 hours of project initiation, including:
Comprehensive PDF report with color-coded deviation maps
Raw scan data in multiple formats (STL, PLY, OBJ)
Dimensional analysis with specific measurement callouts
Professional interpretation and recommendations
For ongoing production monitoring, we establish streamlined workflows that can reduce repeat analysis time by 40-60% through template-based reporting and automated alignment procedures.


