How do you prepare standard-compliant fatigue specimens from complex-shaped AM components?
Strategic Approach to Specimen Extraction from AM Parts
The preparation of standard-compliant fatigue specimens from complex-shaped additive manufacturing components requires meticulous planning and specialized techniques to preserve material representativeness. Our methodology ensures that extracted specimens maintain the critical microstructural characteristics of the as-built AM component while conforming to international standards such as ASTM E466 and ISO 12107.
Manufacturing Process Considerations for Specimen Extraction
Build Orientation Strategy
We strategically orient fatigue-critical regions within the build volume to facilitate subsequent specimen extraction. For components manufactured using Powder Bed Fusion, we align the principal stress directions with specific build orientations to assess anisotropic fatigue properties. This approach is particularly crucial for Titanium Alloy components, where crystallographic texture significantly influences fatigue performance.
Integrated Support Structures
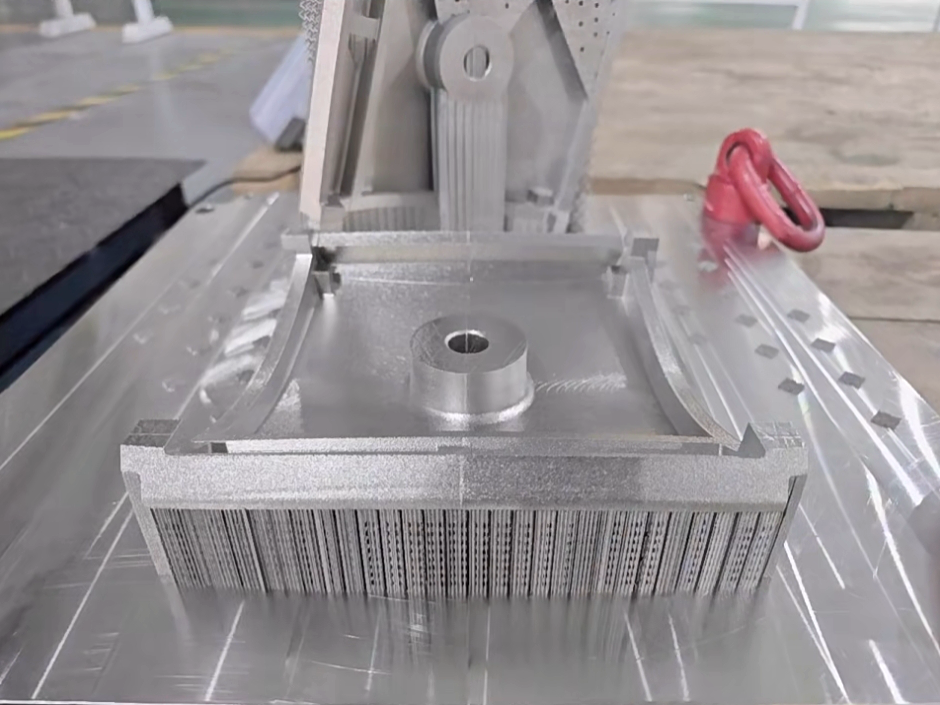
We design specialized support structures that not only facilitate the successful completion of builds but also serve as predetermined extraction zones for fatigue specimens. This methodology is extensively applied to complex Superalloy components, where support interfaces are strategically positioned outside critical gauge sections.
Non-Destructive Evaluation Guidance
Before specimen extraction, we employ comprehensive CT scanning and ultrasonic inspection to identify optimal extraction locations that avoid internal defects. This pre-screening process is essential for components manufactured through Directed Energy Deposition, where process-specific anomalies must be considered in specimen selection.
Sectioning and Rough Machining Techniques
Precision Separation Methods
We utilize wire electrical discharge machining (EDM) for initial separation of specimen blanks from parent components. Our Electrical Discharge Machining (EDM) capabilities enable precise extraction from intricate geometries while minimizing the affected zone. This technique is particularly valuable for hard materials, such as tool steels from our Carbon Steel portfolio.
Stress-Relieving Interventions
Between machining stages, we implement intermediate stress relief treatments using our Heat Treatment facilities to mitigate machining-induced residual stresses. This step is critical for maintaining dimensional stability and preventing microstructural alterations during subsequent processing.
Final Machining and Surface Preparation
CNC Machining to Final Dimensions
We employ precision CNC Machining to achieve final specimen dimensions with tolerances within ±0.025mm. Our machining protocols include specialized fixturing solutions for complex specimen geometries and optimized tool paths that consider the unique chip formation characteristics of AM materials.
Surface Integrity Management
The final surface preparation involves progressive grinding and polishing sequences to achieve standardized surface finishes (typically Ra < 0.2 μm for fatigue specimens). For materials requiring enhanced surface properties, we apply controlled Surface Treatment processes that improve fatigue resistance without introducing detrimental compressive stresses.
Industry-Specific Validation Applications
Aerospace Component Validation
For Aerospace and Aviation applications, we extract specimens from actual turbine brackets and structural components to validate performance under simulated service conditions. This approach ensures that the specimen population represents the true manufacturing signature.
Medical Implant Characterization
In Medical and Healthcare applications, we extract miniature specimens from actual implant geometries to assess the fatigue performance of Stainless Steel and titanium orthopedic devices, accounting for the unique surface topography of as-built AM surfaces.
Automotive Performance Verification
For Automotive applications, we extract specimens from critical suspension and powertrain components to validate performance under high-cycle fatigue conditions, ensuring compliance with industry-specific durability requirements.


